Its 2020, the whole world is in quarantine, so what do you do?
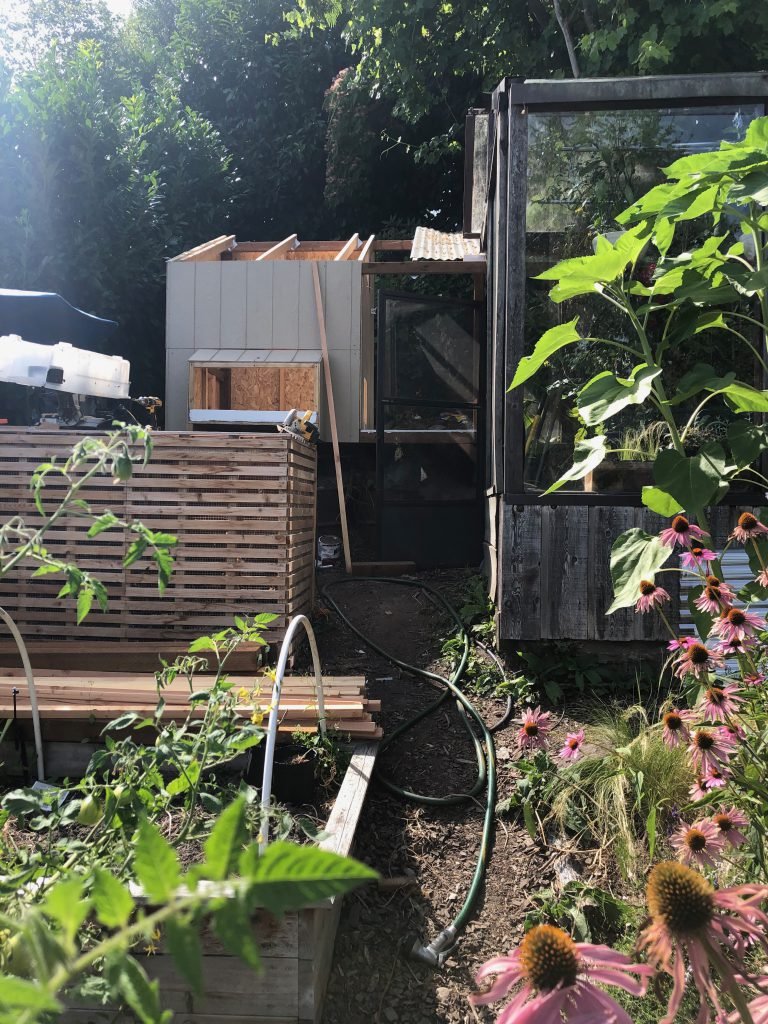
Seemed like a good time to build the coop. I didn’t grow up with chickens or really know much about caring for them, but I knew they were a step in the right direction towards establishing my own little permaculture in my backyard, which is a goal of mine. I had the site for the coop picked out – I would build it adjoined to the greenhouse so I could have a viewing area from inside the greenhouse, and so they would be conveniently located to perform daily chores. Problem was, like everything else at our house, the site was not level ground. This meant even if I wanted to buy a pre-made coop, odds of finding something the right size and orientation would be unlikely. Also because I’m a little particular and I wanted it to match the vision I had.
Step 1: Gather requirements
How many chickens can I have? How much space do they need? What kind of siding do I use? What kind of roofing? How much ventilation do they need?
I scoured the internet, checked out books from the library, and watched endless videos on youtube of what other people have done. From all the resources I gathered, I found these common recommendations:
- 10 square feet of run for each chicken
- 3-4 square feet of coop per chicken.
- 1 foot of perch per chicken
- 3-4 square feet of ventilation in cold weather, more in hot weather
- Cover the run to lessen the chances of disease, and to create a more comfortable environment
- Provide shade to protect them from the heat of summer, as heat is more dangerous than cold
- Keep food dry and protected from rodents or other wildlife
- Fresh water daily
- Hardware cloth should be installed around perimeter to prevent rodents and other predators
- Create easy access for feeding and cleaning out the coop, and preferably some storage
Based on the ratio of space/chicken, I determined I could have up to 12 chickens. I went a little conservative with 9. You’ll want to check with your city to see if there are limits to how many chickens you can have.
Knowing that I perform best with a little pressure, I went ahead and ordered the chicks from a reputable hatchery, which set my deadline of completeing the coop to six months. I tried to involve the kids as much as possible, to allow them to have the experience of raising chicks. They really are marvelous creatures, and apparently are the closest living relative to Tyrannsaurus Rex!
Step 2: Design

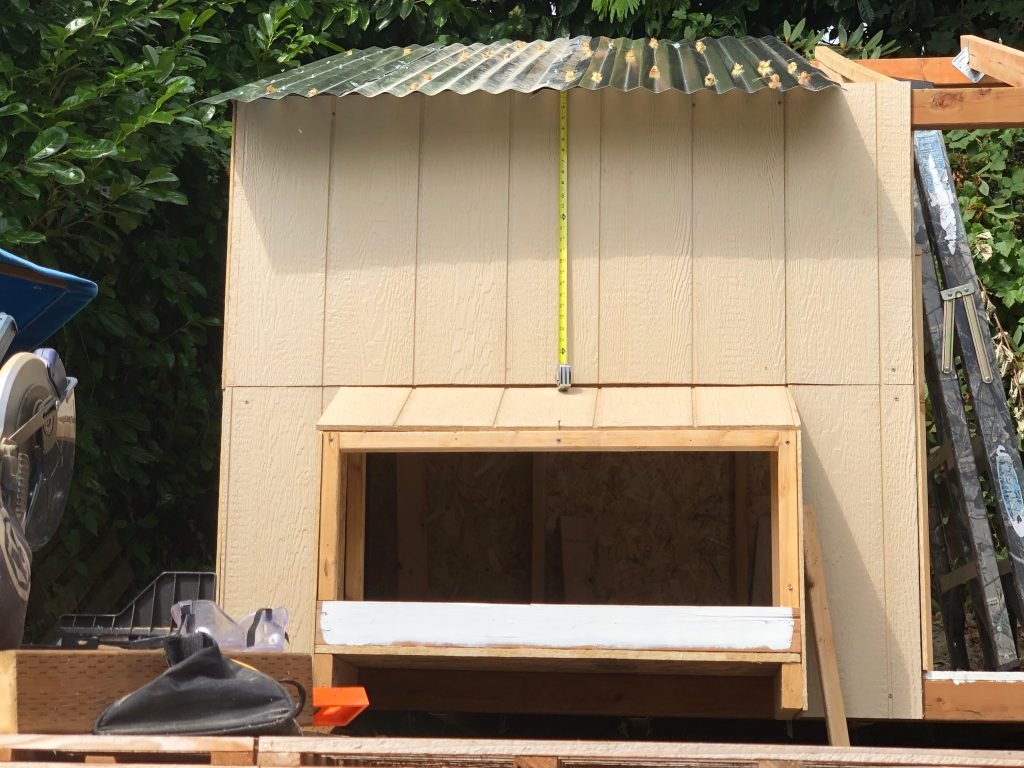
I worked out the dimensions and all the features I wanted. I wanted the nesting boxes in front where access would be easiest, a trap door to scoop out all the pine shavings, and a full size door to access inside of the coop, where the food will be kept. I also wanted an automatic door on the coop for security and so I only needed to visit the coop once a day. I wanted the angle of the roof to match the angle of the greenhouse. High enough on one side so that I could walk into the coop for maintenance, and lower on the other side to mirror the angle of the greenhouse. It would be corregated metal over the coop, and clear corregated panels over the run.
I sketched it out and began estimating cost and researching the materials needed.
Step 3: Build the Coop
With a design plan and the materials scoped out, it was time to begin.

Firm Foundation
It took nearly a week just to clear the area of blackberries and old landscaping fabric to mark out where the footings would go. To pour the footings, we used some remaining sonotubes from another project for added stability.


Framing
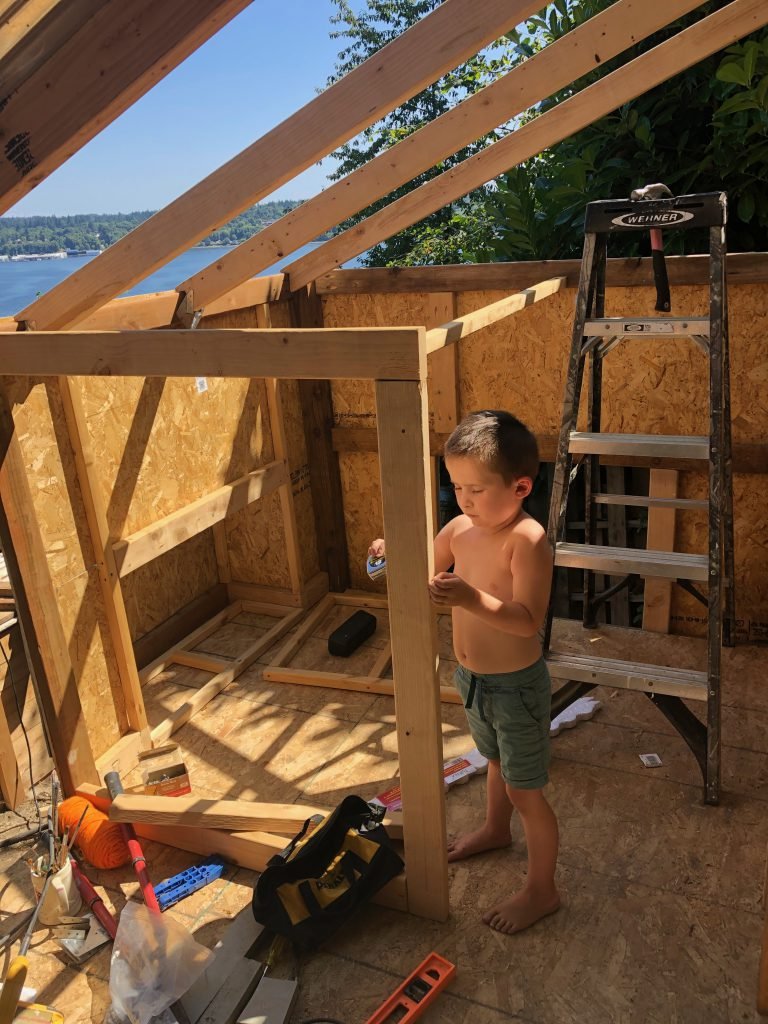
After the main posts were set, it was time to finish out the framing. I know the standard for building walls is 16″ on center, which I vaguely followed. Vaguely because this was housing chickens, not people after all. I had to keep reminding myself this is a chicken coop – it doesn’t have to be perfect. That said, I wanted to build it to last and followed standards whenever possible to the best of my knowledge.
Looking at it as a whole could be quite overwhelming, but breaking down the problem into small, actionable steps I was able to make progess one board at a time. Measure, measure again, cut, level, secure, drill, repeat. Before long, it was taking shape and coming together.


Siding
I went with primed T1-11 siding because it was fairly inexpensive and easy to use.


Building out the Roof
I read that it is best if the chicken run has sunlight, so I went with clear corrugated sheeting over the run, and metal for the coop roof. I used hurricane ties to attach the supports to the framing at the desired angle.


Pretty It Up With Paint
I wanted to get a little creative with the trap door that would function as quick access for treats and changing out their water, so I came up with a pattern and painted it red to jazz it up.


If I was building it again, I would add a slope for drainage. I built it level, but in this case where rainwater can reach the floor, I should have added enough of a slope for water to drain off. This area will need to be refactored in the future. Live and learn.
[UPDATE: Four years later the floor did indeed rot out around the area just outside the coop, so I cut out the floor and stapled down hardware cloth over the floorboards so that rain and water could flow through with no further damage.]
Design Details
I wanted to find a round window for the front of the coop, and found this one on Amazon. It was the perfect size and gave it a nautical feel. It was just the touch it needed and the chickens appreciated the extra light. My kids painting a trim board for inside the coop to personalize it and make it more fun.


Conclusion
Its very satisfying to have a vision, build it, and be able to stand back from it with satisfaction that your vision came alive.

Putting Down Roots
This project was built and completed during the summer of 2020, in the middle of the pandemic. It is a reminder of my promise with God to trust Him and stay steadfast, through all the ups and downs, and He will provide me with the peace and grace to do so, and I will be blessed because of it. Each morning as I check on the chickens, collect the eggs, and replenish their food and water, I am reminded of my commitment and my blessings. I am rewarded each day from the work that I put in with fresh eggs, coos from my beautiful flock, and a sense of accomplishment.


